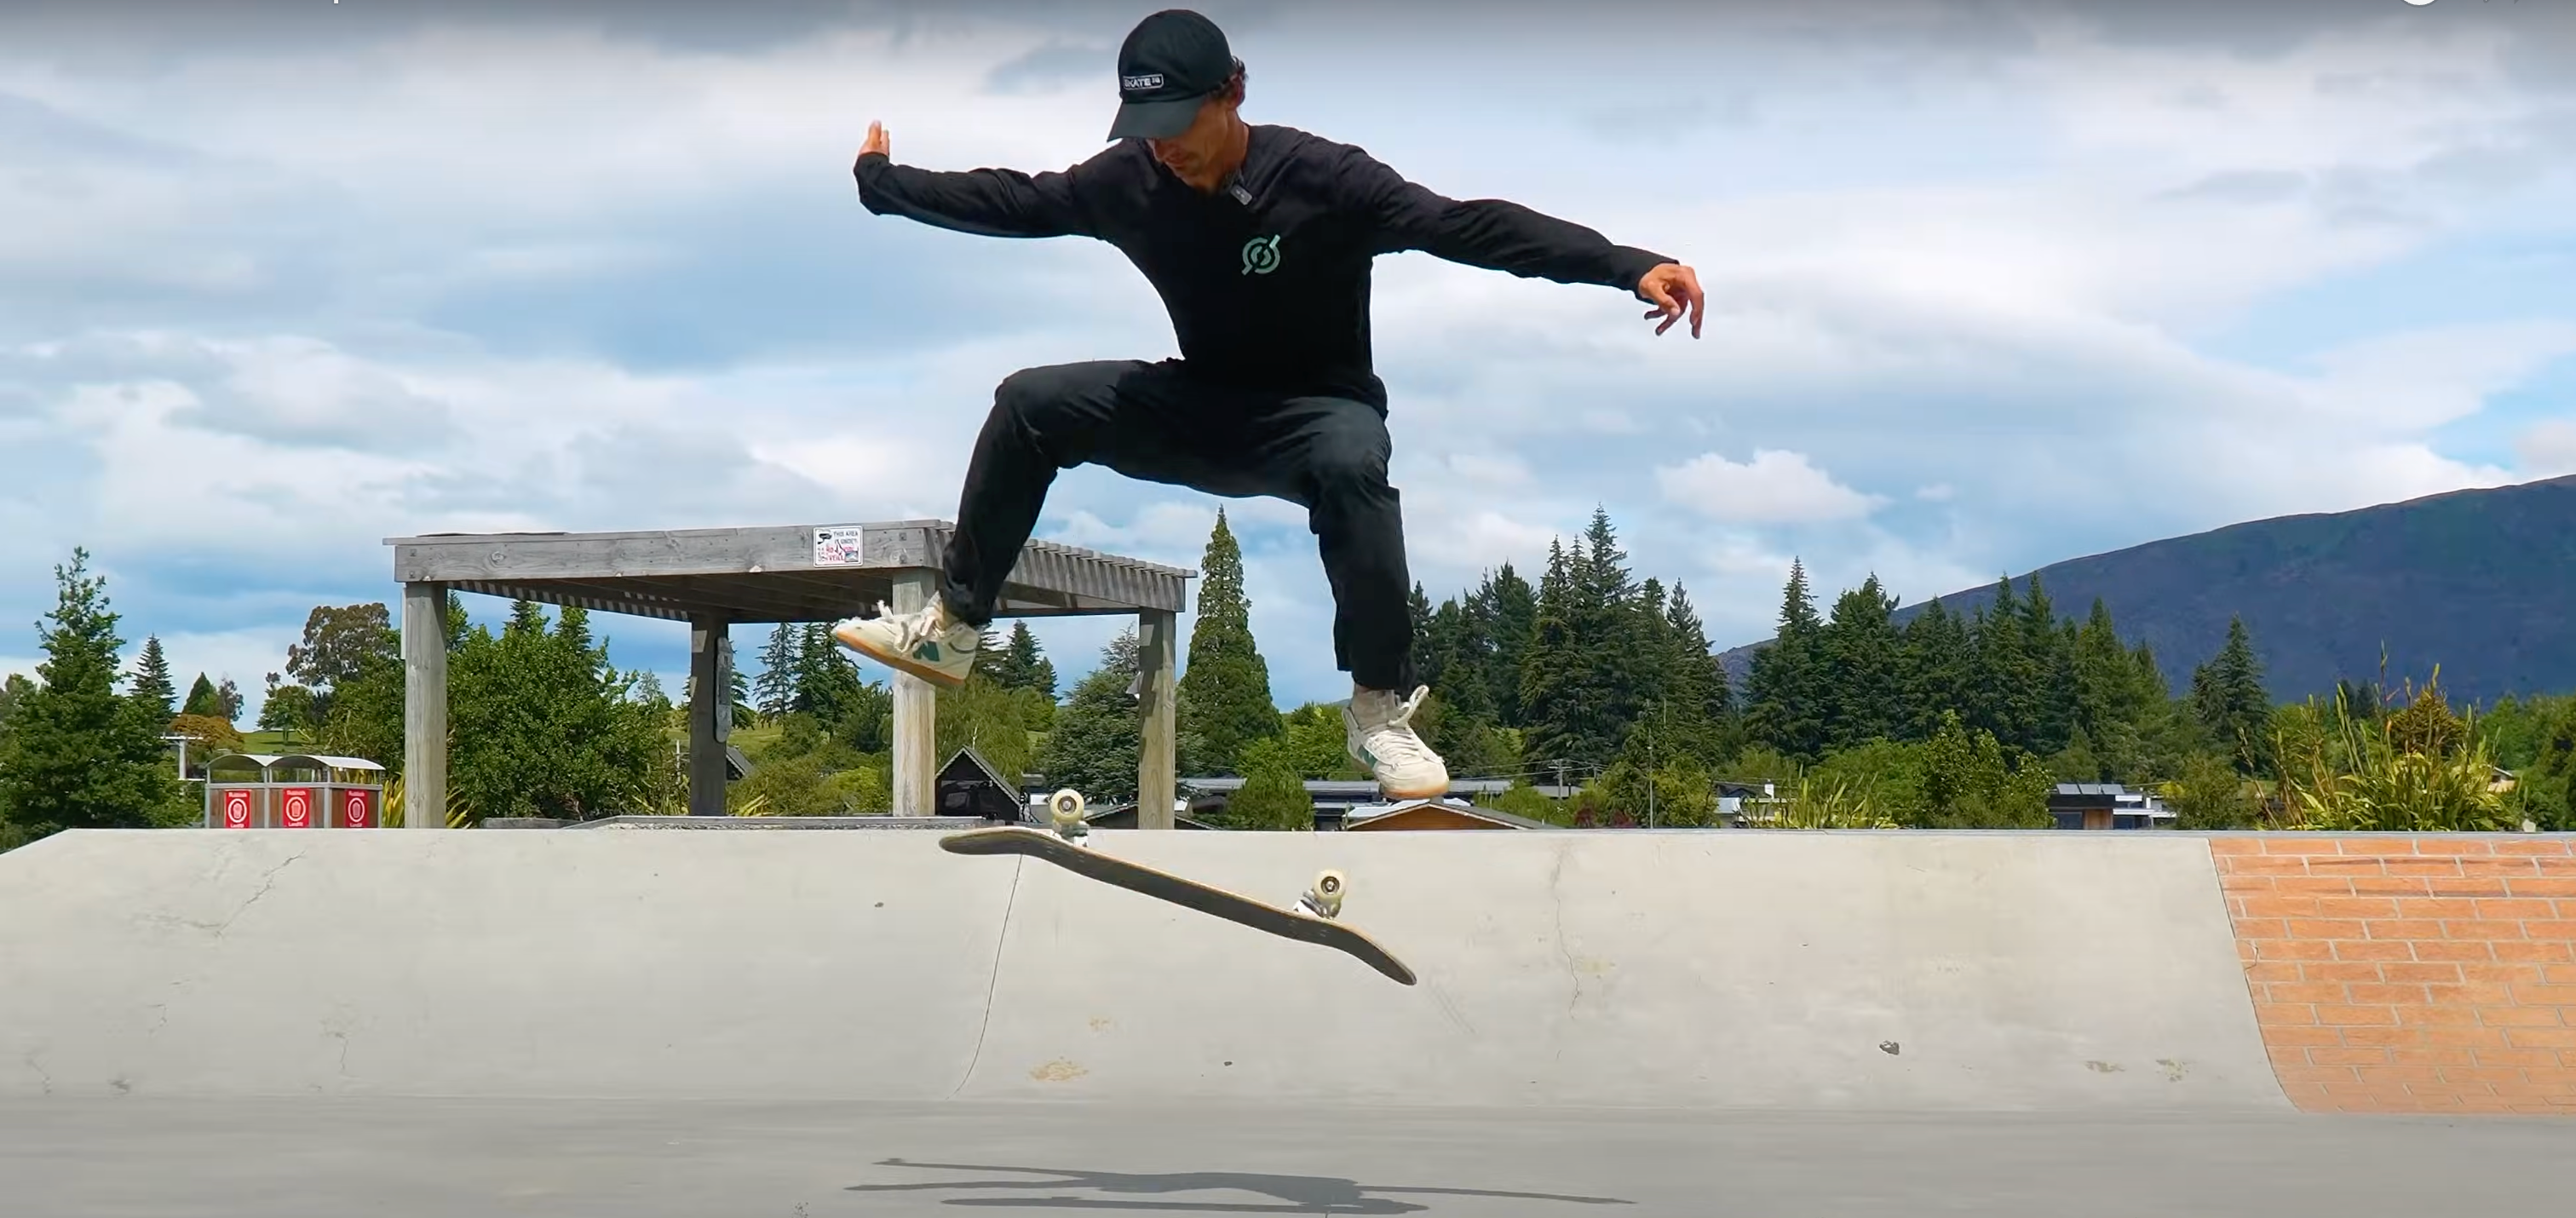
Kickflips are the most requested trick we get on this channel. And for good reason — they are one of the most satisfying tricks in skateboarding, but also one of the most frustrating to learn.
If your front foot is on the ground, your back foot is on the ground, or your board just will not flip all the way, slow down and listen up. Press like and subscribe so you do not miss anything from us.
Let’s break it down.
Step 1: Get Your Mindset Right
The way you approach your kickflip is just as important as the technique itself.
Do not try so hard to flip the board at all costs. That often leads to throwing the board far away or focusing so much on the flip that you forget the rest of the trick.
Instead, focus on:
-
Floating above the board
-
Having proper flick technique
-
Building a foundation for consistent landings
Step 2: Use Both Feet to Flip the Board
A lot of skaters over-focus on the front foot. But to make flipping easy, you want both feet working together.
Drill: No Pop Half Flip
-
Keep the tail off the ground
-
Roll your front foot over while in a manual
-
Feel the pressure on the side of your shoe against the grip tape
-
Once you find the right spot, jump and pull the tail backward as you pop
Pulling the tail back increases the speed of the nose coming up into your front foot. This “closing speed” makes the board flip faster than if the nose was still.
Once you get a feel for this, you may find your kickflips already improving.
Step 3: Get the Nose Low
If your ollies never get your back trucks higher than your front trucks, flipping will be harder. The board will often run away in front of you or twist during the flip.
Drill: Ollie to Land on the Nose
-
Pop normally, but drag your front foot back underneath your head before setting it down on the nose
-
Practice standing on your front foot without shifting your weight over it
-
Keep the motion compact — you are just picking up and setting down your foot
This skill helps you prepare for the position you will be in during a proper flick.
Step 4: Master the Flick
A proper flick is not purely sideways. Turn your hips slightly forward so the motion feels more like kicking a soccer ball or sliding your toes along the nose.
Aiming with your big toe (even if you still slide off the side of your shoe) can feel more natural and controlled.
There are two main ways to think about the flick:
-
Leg motion: Lift your leg up underneath you, then swing it forward in a wide motion.
-
Ankle motion: Use your toes and ankle to snap the board.
Start focusing on ankle control once you have the half flip and nose-landing ollies down.
Step 5: Jump High, Keep the Board Low
This feels counterintuitive. Once you can flip the board, work on keeping the board close to the ground while you jump high.
This “straight leg” kickflip drill forces you to:
-
Get your feet above the board while it flips
-
Avoid flipping the board higher than your feet
If your feet are below the board during the flip, you will never land on it.
Step 6: Practice the Landing
Landing is the hardest and scariest part. Lack of confidence stops more skaters than lack of technique.
Confidence Drill: Hold onto a fence or rail
-
Let the board flip underneath you while you support yourself with your hands
-
Practice chasing the board with your feet and landing on it
-
Build the habit of committing without worrying about slipping out
If you land on 100 kickflips while holding onto a fence, your first unassisted landing will be much easier to commit to.
Final Thoughts
Learning kickflips is a process. Do not rush it. Build your technique step by step:
-
Use both feet
-
Get the nose low
-
Flick naturally
-
Jump higher than the board
-
Commit to the landing
With patience, these drills will not only fix your kickflips but make them consistent and stylish.

