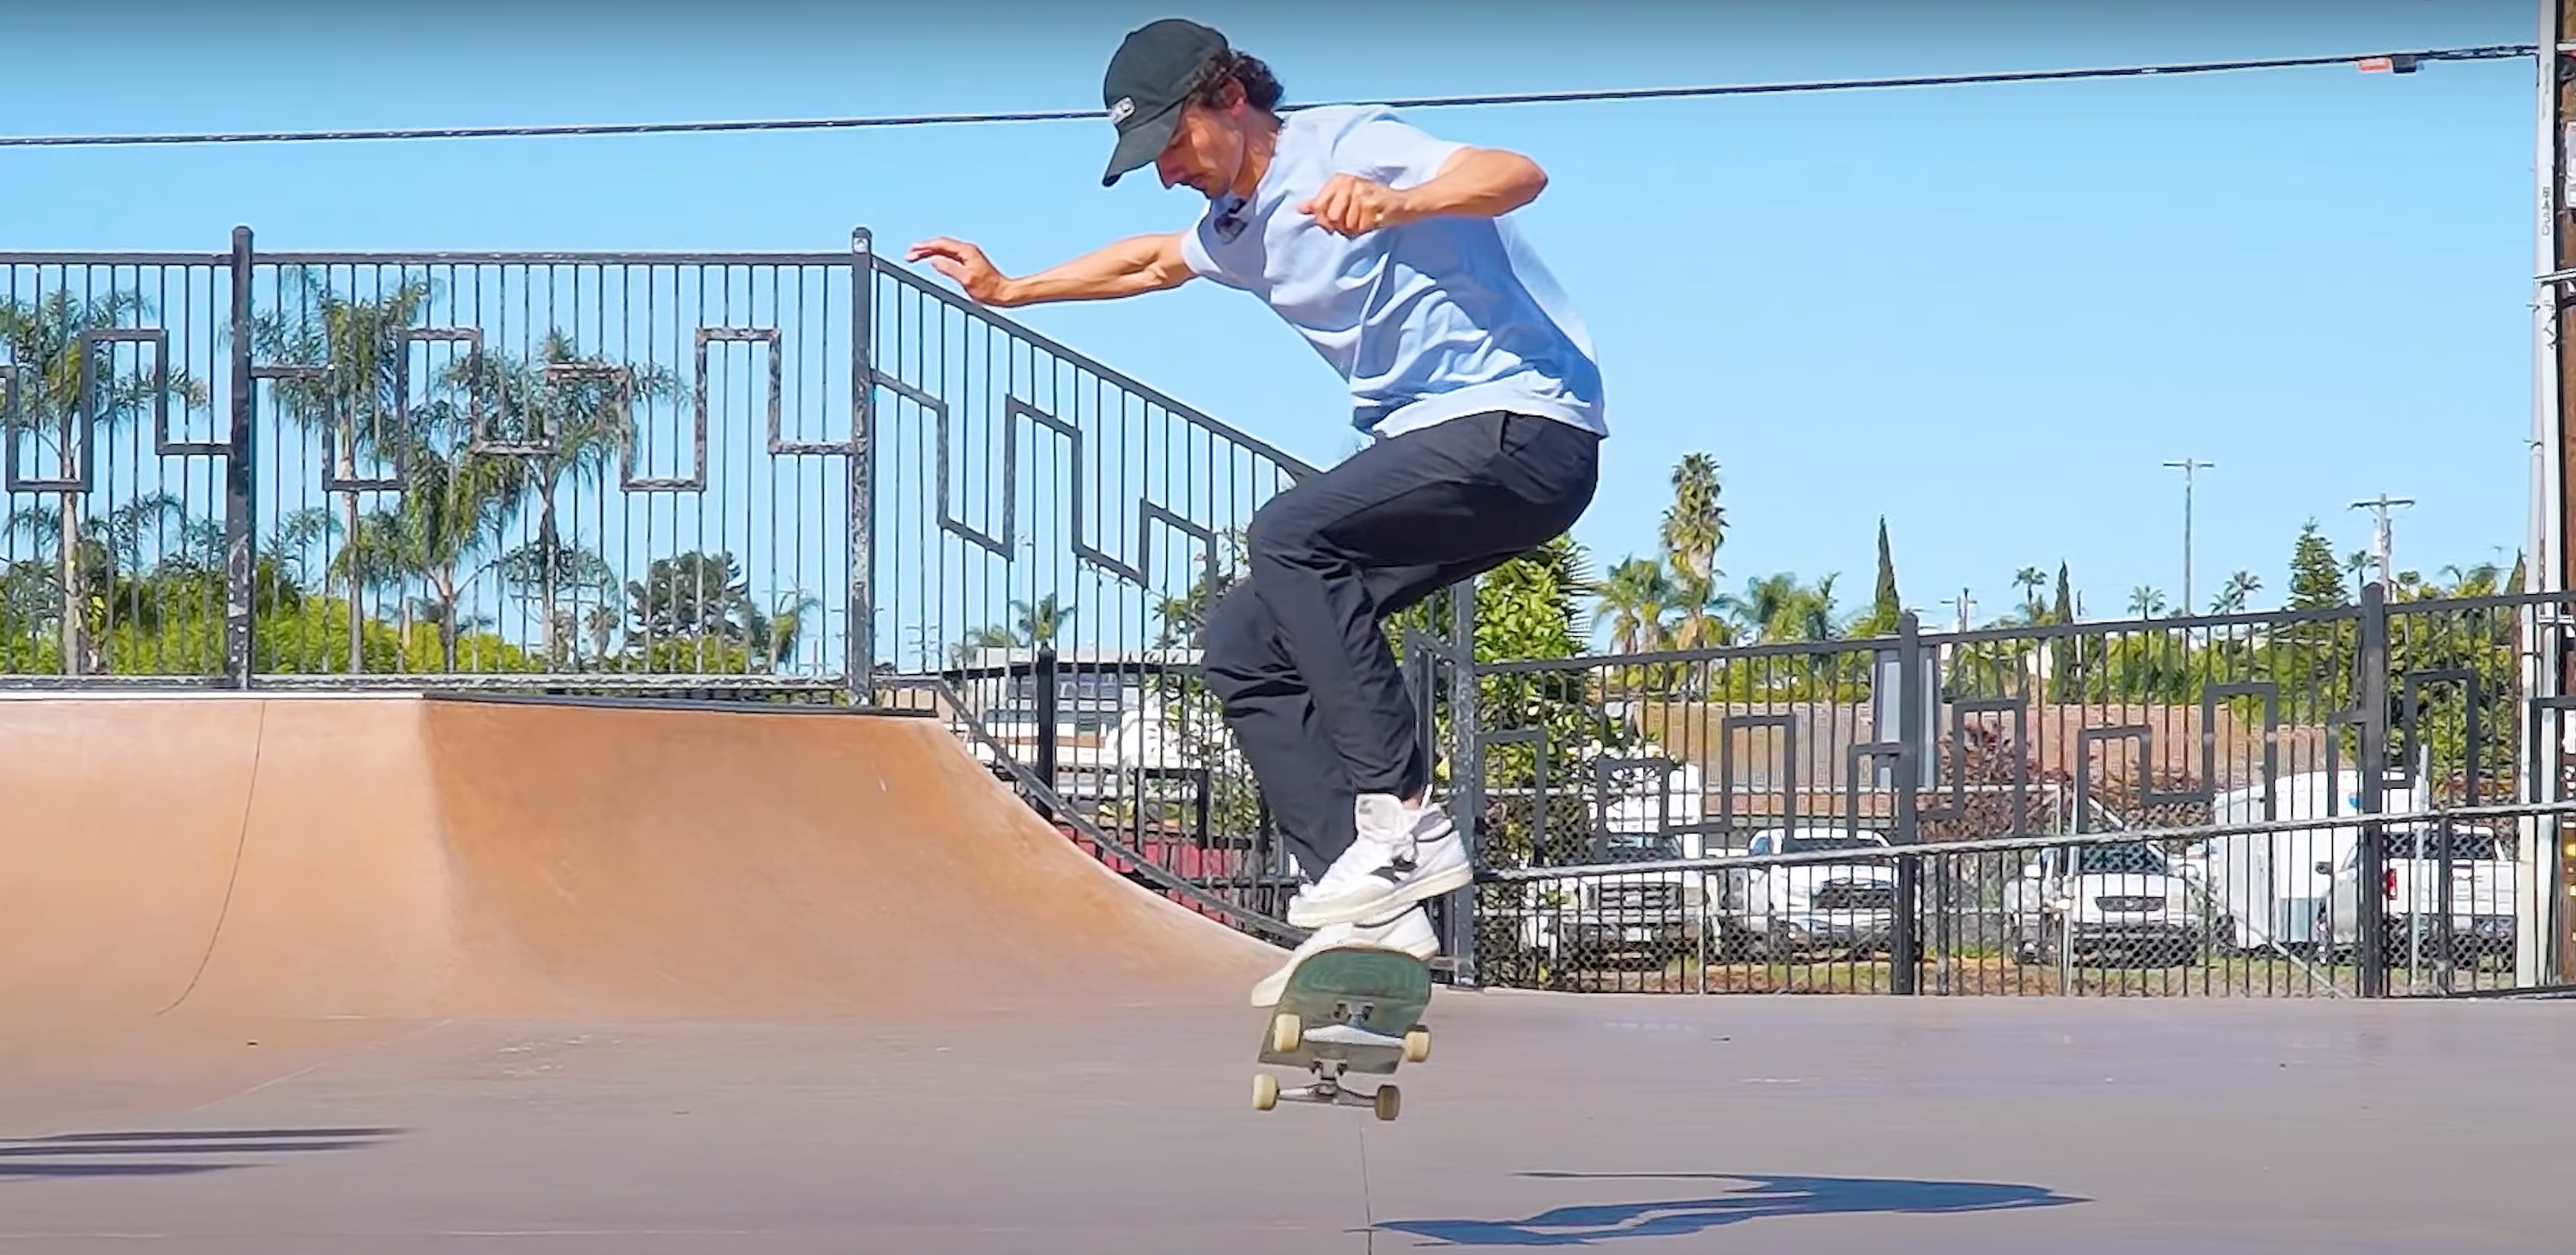
Switch skating doesn't require a totally new set of skills. The idea that switch tricks demand a different technique is one of the biggest mental barriers for skaters. If you can already kickflip, then believe it or not, you can switch flip. You just need the right mindset, proper body positioning, and a few targeted drills to make it click.
Let’s break down exactly how to take your existing kickflip knowledge and confidently apply it to your switch stance.
Step 1: Understand the Stance Shift
To start, you need to fully switch your stance in both body and mind. Your flick foot becomes your front foot, and the foot that used to be on the nose is now your back foot. Many skaters struggle with switch because they don’t commit to the new stance mentally or physically. Treat it like it’s your natural stance.
Step 2: Body Position is Everything
The biggest key to a solid switch flip is opening your body correctly. A common mistake is squatting with your foot on the outside of your knee, which prevents proper ankle flick. Instead, focus on these cues:
-
Push your front hip back over the heel side of the board.
-
Make sure your foot is inside your knee, not outside.
-
Keep your lead hip open as you squat.
This puts your ankle in a natural flicking position and eliminates the downward kick that often ruins a switch flip.
Drill: Opening Up the Squat
-
Get into your switch kickflip stance.
-
Do a partial squat while opening your hips toward your target.
-
Hold for 3 seconds.
-
Go deeper into the squat, open more, and hold again.
-
Repeat while skating directly at a camera to check form.
Step 3: Learn the Back Foot Direction
It’s tempting to focus only on the flicking foot, but the switch flip starts with your back foot. A good pop comes from a small down-and-back motion—not straight down, and definitely not forward.
Incorrect pop = tail slapping the ground or dragging
Correct pop = tail pops cleanly, nose lifts confidently
Drill: Hand Ollies
-
Use your front hand to lightly touch the grip tape.
-
Try to pop the tail into the air without hitting the ground.
-
Once that feels right, add a flick for a hand kickflip.
Step 4: Build Tension in the Flick
Flicking properly requires tension in your front foot, which you can create by rolling your ankle over during a small manual.
Drill: Manual Foot Rolls
-
Roll your front ankle while holding a low manual.
-
Keep the nose height consistent across five attempts.
-
Focus on matching the tension and timing across all reps.
Step 5: Practice the Half Flip
Half flips are where everything starts to come together. The goal is to get the flick without popping the tail. This drill tells you that your tension, ankle roll, and timing are all working.
Drill: One for One Half Flips
-
Do one no-pop half flip with tension and lift.
-
Then do a hippie jump, landing lightly on the board.
-
Go back and forth until consistent.
-
Progress to full half flips when ready.
Step 6: Add the Pop
Once your flick is strong and tension is reliable, it’s time to add height without changing your mechanics. This means jumping harder while keeping the tail from hitting the ground—until you intentionally want to pop it.
Drill: Walking Up to Popping
-
Start with a low half flip.
-
Do a medium flick with more lift.
-
Then go full power.
-
Walk it back down and repeat.
This drill helps you scale the trick up and down with control.
Step 7: Get Comfortable Landing Switch
Landing is often overlooked, but switch landings feel different. It’s a new orientation, and your body needs to get used to floating and catching the board.
Practice: Switch Cavemans
-
Stand behind your board.
-
Jump onto it in switch stance.
-
Try to land clean with both feet on the bolts.
Doing this builds familiarity with the switch landing and helps prevent reverting back to your natural stance out of habit.
Final Thoughts
Switch flips aren’t a mysterious new trick. They're just kickflips in disguise. The same physics apply. The only thing that changes is your mindset and how committed you are to building the right habits in your switch stance.
Be patient. Focus on tension, body positioning, and repetition. Stay open through your hips and ankles. The progress will come—and when it does, it will feel just as natural as your regular kickflips.
If you're ready to take your switch skating further, check out The Switch Guide for a complete roadmap to mastering your switch stance.
Let’s get switch flipping.

